
I made C a weighted blanket for her 4th birthday. It was really easy! I used this tutorial:
http://thesquishypickles.blogspot.com/2011/04/weighted-blanket-tutorial.html
Quick and dirty:
- sew your muslin to the wrong side of your outside fabric on the 2 long sides and one short side
- draw your grid (I did 5x5 squares)
- sew the long channels
- fill each channel with appropriate amount of pellets for one square
- stitch first row shut
- repeat filling and sewing for remaining squares, stitch final row shut
- put 2 outside fabrics right sides together, pin, sew 3 sides, trim excess, turn, topstitch to close opening. For this step I would definitely recommend leaving a whole side open before turning ~ the weight and bulk of the fabric would make it hard to turn through a small opening
- finish however you'd like
I've seen other tutorials where you don't have the 3rd piece of fabric, but I liked this one because it allowed me to use some cheap muslin that I could draw the grid on. It also allows you to have a piece on top that doesn't show the stitching in case your stitching isn't amazing ;)
I got poly pellets at JoAnn for $7/2 pounds, which was the best price I found through a quick search. I wanted them quick (her birthday is next week!) so I maybe could have gotten them cheaper, but I figured after shipping it would be just as much or at least close. I used a cheap muslin for the internal fabric, a homespun for the outside fabric with the stitching, and a quilting fabric that I have leftover that matches their room for the outside fabric without stitching. I'm thinking about adding a silky border, too, so I need to get back to the fabric store and see what I can find. My total cost so far (without the border) is $26! Way better than the $100+ I've seen online :D The homespun was $4/yard (50% off of $7.99) and the muslin was $1.99/yard, and I bought 2 yards of each.
DH helped me fill the pockets, which is the most tedious part (that and then stitching them shut). I used a kitchen scale and a couple of small plastic cups for measuring. You have to be careful to get all the beads in your pocket as you're sewing ~ hitting a bead with the needle would almost certainly break it. As the blanket gets heavier it's also helpful to have a non-slippery surface to pile it on as you're sewing (my desk that I use for sewing is pretty slippy so it would slide off).
My finished size is 35"x55", and I did 5"x5" pockets for a total of 77 squares (7 columns, 11 rows). C is about 28 pounds, so I did 1/10 her weight +1 pound and then rounded to 4 pounds (64 ounces). Each pocket has 0.83 ounces of poly pellets (64 ounces/77). I was worried that it would be too small or not heavy enough, but once I finished I think it's the perfect size for her since she's pretty little :)
All told it probably took 3-4 hours.
She has had it for 6 days and so far so good! She has slept with it each night, and though it could be a fluke, she has only come into our room in the middle of the night ONCE (it's usually 5-6 days per week), and I think she's sleeping better in general. She also was able to use it in the car this past weekend on our way to and from visiting family, so I'm very happy with the size. Overall I'm thrilled so far!
Here are a few pics ~ all but the last 2 were taken with my phone so forgive the quality :D
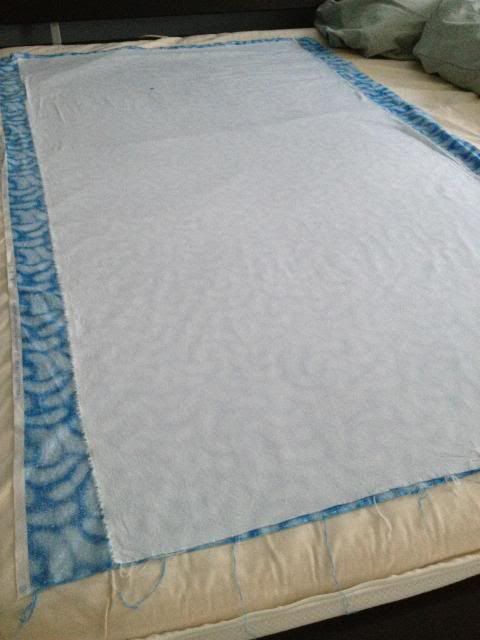
Just ironed (I almost never iron!)
Drawing the grid (draw out the whole grid before you start sewing ~ will make it easier in the end)

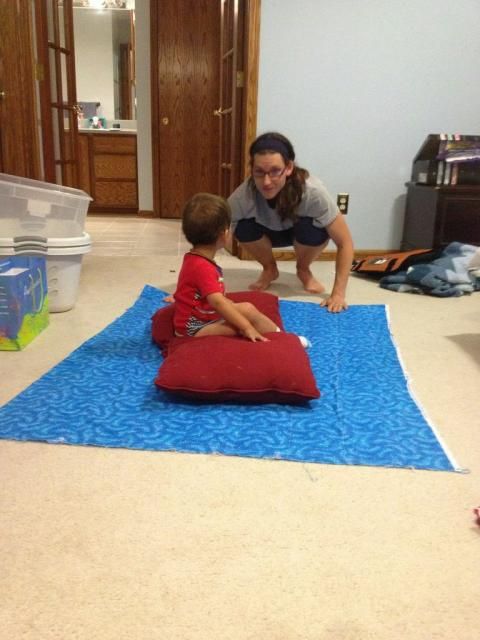
Milo "helping"
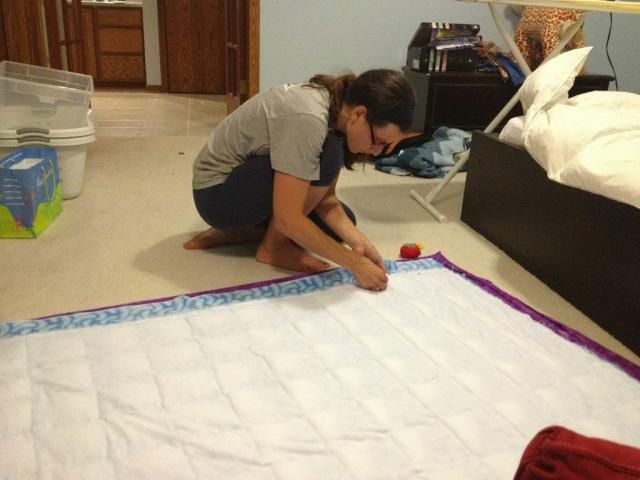
Pinning the finished layers to the top
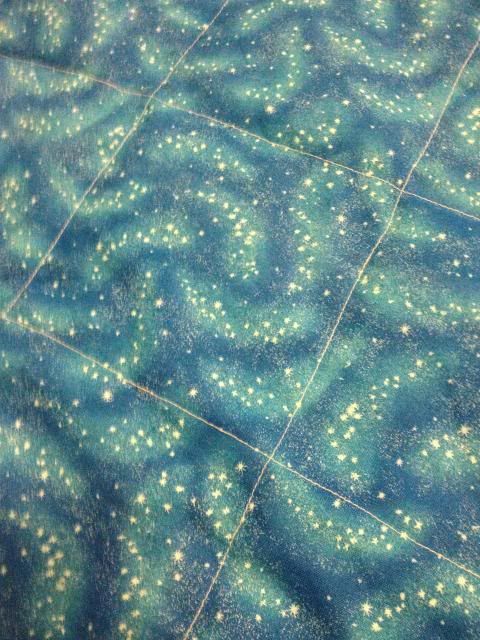
Close-up of grid on finished blanket
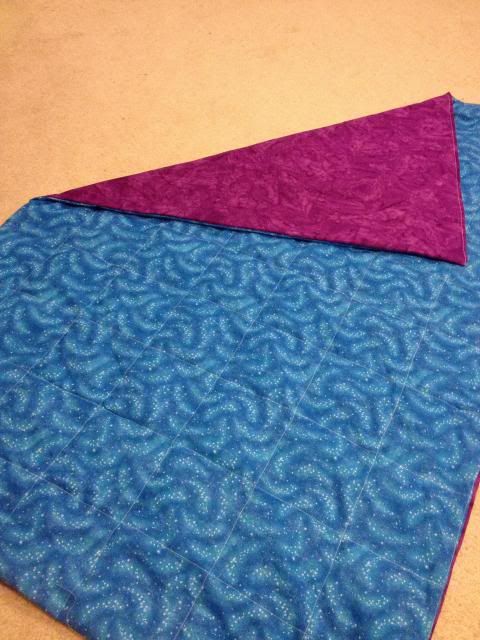
Finished!


1 comment:
I'm not sure how I missed this post, but I'm so glad she loves her blanket! Anything for better sleep, right?
Post a Comment